A craft blog about paper craft, sewing, knitting and baking. I've always loved making things but started card making in 2012 after I found I could make my own wedding invites how I wanted them and for a fraction of the cost, plus it was fun to do! I love stamps, digistamps, die-cutting, colouring in and just getting lost in my own world while I craft. In 2013 I became a Spectrum Noir Accredited Colorist. I hope you enjoy my reviews and blog posts.
Wednesday 12 November 2014
Craft Room Helpers
I really need to get a start on my Christmas cards and get back to my normal level of crafting but my craft room keeps getting taken over by little helpers.


Wednesday 29 October 2014
Button Christmas Tree
I went into my craft room today to start my Christmas cards properly. Unfortunately I got drawn in by my button stash and ended up making this tree decoration 
I used tiger tail wire and some clamping beads to make the loop and then just made my way through my buttons, measuring them up against one another and gradually getting to the biggest button at the end. I think it looks pretty cool although our tree usually only has silver, white and black decorations on (it's a black tree) so I'll hang this elsewhere come christmas.
Sunday 26 October 2014
Christmas Card Kit for My Sister
Over the past few years I've made my sisters Christmas cards or helped her and this year she wanted to make her own, but not having all the tools I've put together a kit for her so she just needs to stick the pieces on.


I brought 12.5 x 12.5cm card blanks from Card Blanks Direct for £4.95 with envelopes (for 50) and have come up with two different designs for her (with a little variation on each).
For the Snowman and Snowdog cards I used blue centura pearl card, embossed with the Sheena Douglas snowflake embossing folder that came with the most recent christmas Crafters Companions, Crafters Inspiration magazine, the Snowman and Snowdog die (from the magazine) cut out of Snow White centura pearl and coloured in with Spectrum Noirs, a stamp from the magazine, Christmas washi tape and ribbon from the Fantastic Ribbons Christmas bundle.
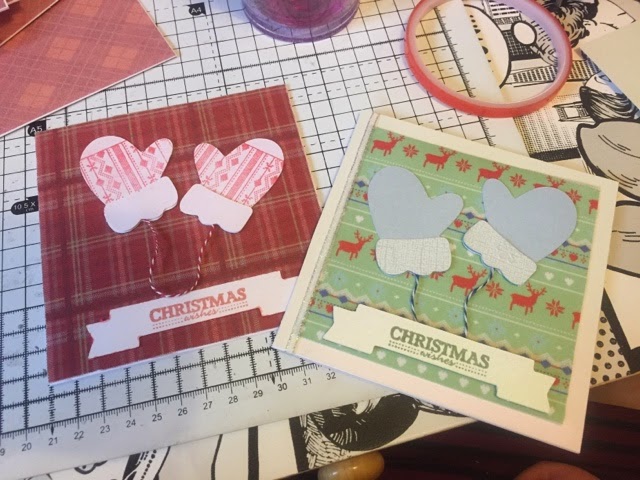
For the other card I've either used DoCrafts adhesive fabric or background papers from the CD that came with the Crafters Inspirations magazine printed onto Centura Pearl paper, bakers twine, mittens and banners cut from coloured and plain centura pearl card on my Cricut Mini using cut files from their subscription and knitted stamps from DoCrafts (which I stamped onto the white mittens)
The other backgrounds are shown below 
It was hard not actually making the cards in full but I know Laura will love making these and I've even make some stickers for the back for her using these cut round labels from Label Zoo 
So now all I need to do is await my Crafters Companion order of Collall all purpose glue and give that to my sister all boxed up with her card pieces and some foam squares!
Now to get a start on my cards!
Christmas Card Kit for My Sister
Over the past few years I've made my sisters Christmas cards or helped her and this year she wanted to make her own, but not having all the tools I've put together a kit for her so she just needs to stick the pieces on.
I brought 12.5 x 12.5cm card blanks from Card Blanks Direct for £4.95 with envelopes (for 50) and have come up with two different designs for her (with a little variation on each).
For the Snowman and Snowdog cards I used blue centura pearl card, embossed with the Sheena Douglas snowflake embossing folder that came with the most recent christmas Crafters Companions, Crafters Inspiration magazine, the Snowman and Snowdog die (from the magazine) cut out of Snow White centura pearl and coloured in with Spectrum Noirs, a stamp from the magazine, Christmas washi tape and ribbon from the Fantastic Ribbons Christmas bundle.
For the other card I've either used DoCrafts adhesive fabric or background papers from the CD that came with the Crafters Inspirations magazine printed onto Centura Pearl paper, bakers twine, mittens and banners cut from coloured and plain centura pearl card on my Cricut Mini using cut files from their subscription and knitted stamps from DoCrafts (which I stamped onto the white mittens)
The other backgrounds are shown below
It was hard not actually making the cards in full but I know Laura will love making these and I've even make some stickers for the back for her using these cut round labels from Label Zoo
So now all I need to do is await my Crafters Companion order of Collall all purpose glue and give that to my sister all boxed up with her card pieces and some foam squares!
Now to get a start on my cards!
Wednesday 22 October 2014
Love a bit of craft storage!
Recently I've been trying to sort out my craft storage. I've got so much stuff it getting a hidden and unused then I find things I didn't even know I had!


It started with a new shelf for my sewing books and patterns, then little drawers for small bits (from Homebase), a ribbon shelf (handmade from a seller on eBay) and now a paper organiser. These are in addition to my craft drawers, adhesive storage unit (made from an old wine box, husbands idea) and shelving unit.


My most recent purchase was the Totally Tiffany Paper Manager and Storage Tote. I'd seen it on Create and Craft TV and it's £19.99 for a sturdy holder, 3 plastic sleeves for 12 x 12 papers and 3 plastic sleeves for 12 x 12 papers plus pockets on the other side for embellishments. Currently my 12 x 12 papers are leaning on my shelf and aren't organised at all, I have to get them all out to find the one I'm looking for.
The storage came this morning but had no instructions at all which usually wouldn't be a problem but trying to put the bottom of the storage together seemed impossible, but luckily a quick search on YouTube and I found a video by Totally Tiffany on assembly!
My papers only just fit as I have quite a collection and will be organising them this weekend. I love the handles on the storage as it makes it easier to lift especially when it's full!
Once I've sorted it I'll post a picture. It was definitely worth £19.99 in my opinion as it is very sturdy and needs to be as it is really heavy once full.
I think craft storage is definitely my new obsession!
Saturday 18 October 2014
Cricut Image Library Subscription
I got my Cricut Mini last Christmas after wanting one since I started crafting and I have a few cartridges (mostly Disney) but I'm always wanting more. Luckily Cricut now have a subscription service is thousands of cutting files!!! It's currently (at the time of writing) only available in the UK on a yearly subscription of £74.99 but the monthly subscription is coming to the UK soon but it does work out cheaper if you pay yearly.
A list of the cartridges is available here on the Cricut site, however it just gives the name of the cartridges and I do like to see an image to know exactly what is available and what it should actually look like at the end so I searched online but there was no visual library so I decided to put together a Pinterest board for myself so I can see what I've got to play with. It can be viewed here and should have virtually all, if not all of the Cricut cartridges. It took me 3 evenings and one afternoon to pull them all together (while trying to stop the kittens climbing on my laptop and hitting the power button!)
I think this subscription is a brilliant idea and has so many cartridges I'd not looked at before. I have a few of the cartridges in the subscription (Paper lace, Simply Charmed, Wall Decor) but there are lots I was going to get including Chalkboard and Cindy Loo.
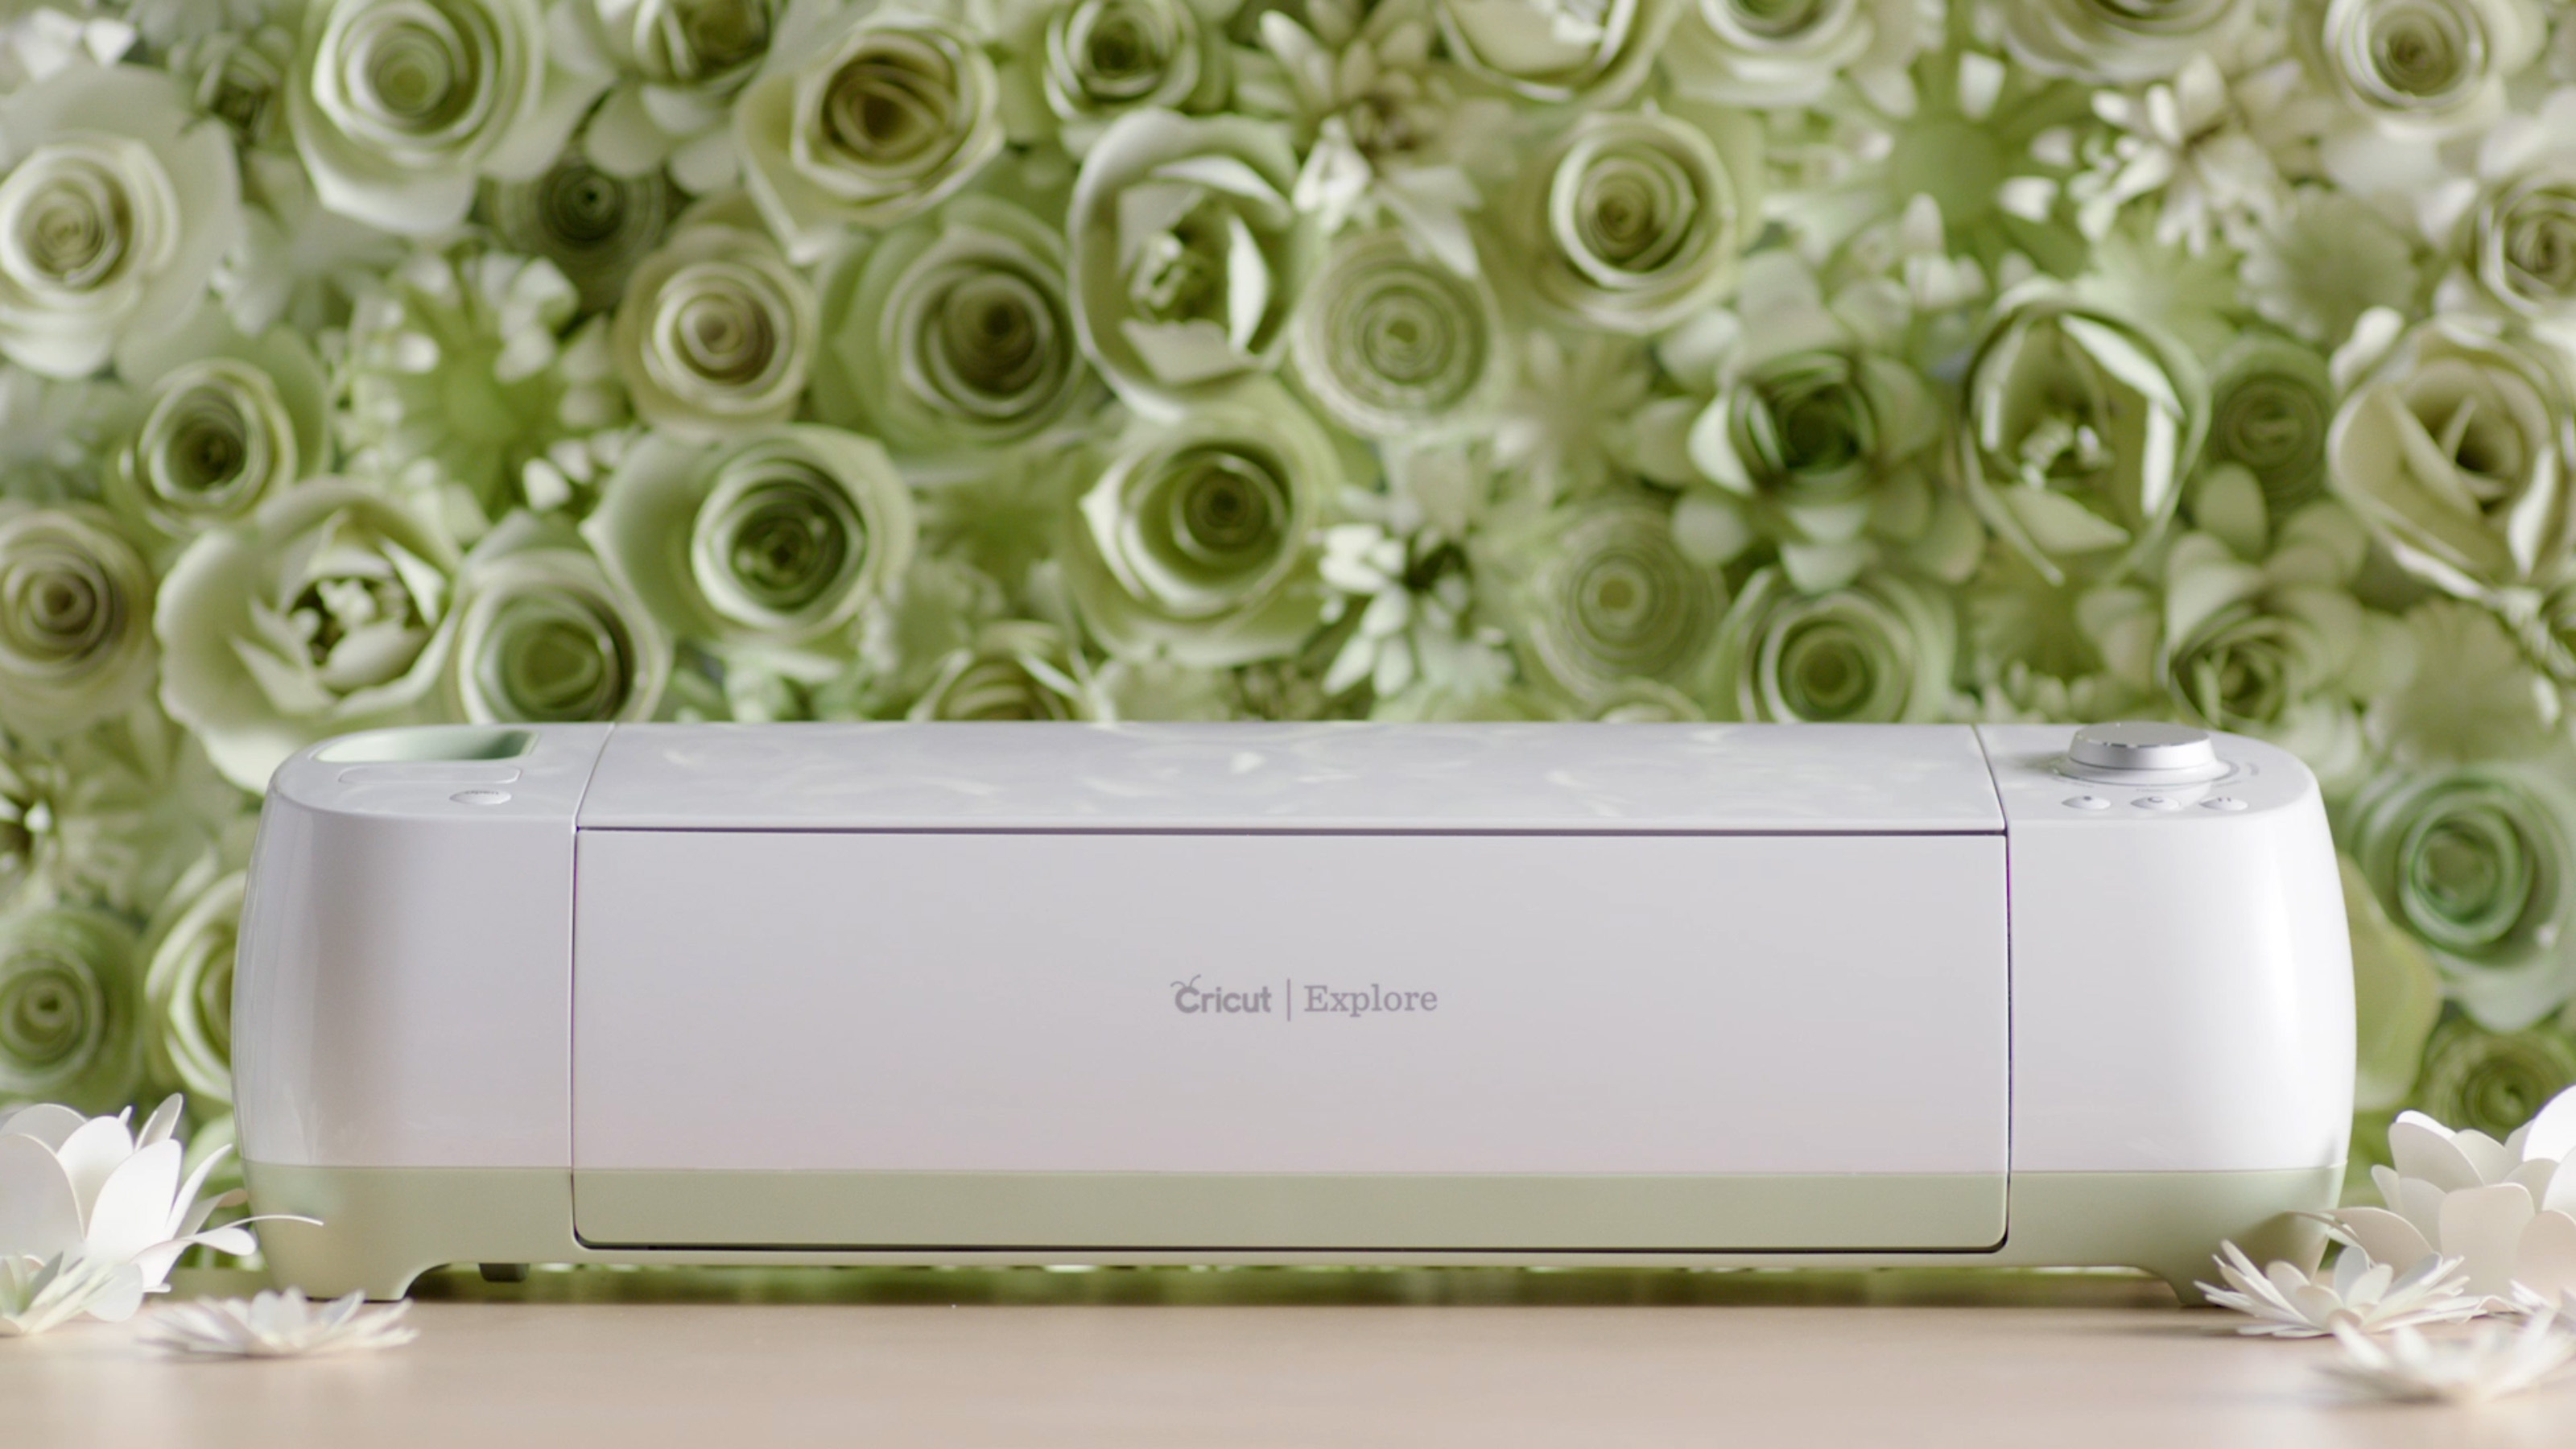
I've also decided that after a year with my Cricut Mini I'm going to save up and buy the Cricut Explore as it will be much easier to be wireless and cut more intricate designs. Strangely it was after watching Create and Craft showing the Brother Scan and Cut that made me want the Cricut Explore. I've wanted the Brother Scan and Cut but due to the price I would never buy one, but decided to look up the Cricut Explore and it does everything I want (I don't personally really want to scan in something and cut it out), especially being able to use other cutting files, cut wirelessly AND I can still use my Disney cartridges (and all the other ones I have). The only downside is that while you can cut via the app on an iPad, it's not been confirmed if it will ever come to android, the responses on Facebook have just been that it's only currently available on the Apple App Store. I have an iPhone but I have a Samsung tablet as I only wanted it for using the internet but would love it if they added the app to Android and this would be another selling point for me.
Now I'm off to browse all the images and choose some for my Christmas cards!
A list of the cartridges is available here on the Cricut site, however it just gives the name of the cartridges and I do like to see an image to know exactly what is available and what it should actually look like at the end so I searched online but there was no visual library so I decided to put together a Pinterest board for myself so I can see what I've got to play with. It can be viewed here and should have virtually all, if not all of the Cricut cartridges. It took me 3 evenings and one afternoon to pull them all together (while trying to stop the kittens climbing on my laptop and hitting the power button!)
I think this subscription is a brilliant idea and has so many cartridges I'd not looked at before. I have a few of the cartridges in the subscription (Paper lace, Simply Charmed, Wall Decor) but there are lots I was going to get including Chalkboard and Cindy Loo.
I've also decided that after a year with my Cricut Mini I'm going to save up and buy the Cricut Explore as it will be much easier to be wireless and cut more intricate designs. Strangely it was after watching Create and Craft showing the Brother Scan and Cut that made me want the Cricut Explore. I've wanted the Brother Scan and Cut but due to the price I would never buy one, but decided to look up the Cricut Explore and it does everything I want (I don't personally really want to scan in something and cut it out), especially being able to use other cutting files, cut wirelessly AND I can still use my Disney cartridges (and all the other ones I have). The only downside is that while you can cut via the app on an iPad, it's not been confirmed if it will ever come to android, the responses on Facebook have just been that it's only currently available on the Apple App Store. I have an iPhone but I have a Samsung tablet as I only wanted it for using the internet but would love it if they added the app to Android and this would be another selling point for me.
Now I'm off to browse all the images and choose some for my Christmas cards!
Wednesday 8 October 2014
Quick cards using my Crafty What Not's Box
As the kittens are asleep I decided to make some cards using my Crafty What Nots box Click here to view my review post
First I used the flower stamp with the chalk inks on the smallest card blanks in the box. The image stamped really clearly and I added a button to the middle of the card for a simple little note cards.


I then used a selection of Candi (some of which was from my own stash as well) and pinched each one to make a petal shape.


Once this was done I did another layer.

Then finally added a centre Candi with a foam square and added the whole thing to the top of my stem.

To finish I added a sentiment and some twine from the packaging.

My final card I made with the larger card blank (12.5cm) and started by stamping the flower around the outside of the card. I then got one of the iridescent sheets of floral paper and cut a square 10cm x 10cm. Rather than use the pattern side I used the reverse and stamped the flower directly into this. I then stuck this onto the card and finished with three pieces of Candi.


I hope you like my cards and how I've used the different bits from the kit. For more about the Crafty What Not's box check my previous post.
Crafty What Not's Floral Pavilion Subscription Box
A few weeks ago I received an email from Jenny from Jennysis asking if I'd like to review her new craft box, Crafty What Not's, and I jumped at the chance. I used to subscribe to Crafty Creatives but stopped after their birthday box as I like getting lots of different little bits and one or two kits rather than a box of just kits (I like doing my own thing).
Last week my box arrived...on the same day as my iPhone 6. My sister waiting in for my phone at my flat and she was so excited when the Crafty What Nots box arrived and when I got in we opened it before my phone!

It was refreshing to have a different sized box so you get better sized craft papers and lovely that the box had a personal feel, a bit like a friend had sent you a box of crafty presents. Everything was lovingly wrapped and there was so much attention to detail including a lovely handmade card which you could recreate yourself (I'd seen these on the Jennysis blog and thought these looked so sweet).
The theme of this box is floral pavilion but it's not overly floral in my opinion, it's very Cath Kidston.
When you open the box you have a list of what you get and an inspiration sheet which was packed with great ideas on what to make.
The box itself contained:
Last week my box arrived...on the same day as my iPhone 6. My sister waiting in for my phone at my flat and she was so excited when the Crafty What Nots box arrived and when I got in we opened it before my phone!
It was refreshing to have a different sized box so you get better sized craft papers and lovely that the box had a personal feel, a bit like a friend had sent you a box of crafty presents. Everything was lovingly wrapped and there was so much attention to detail including a lovely handmade card which you could recreate yourself (I'd seen these on the Jennysis blog and thought these looked so sweet).
The theme of this box is floral pavilion but it's not overly floral in my opinion, it's very Cath Kidston.
When you open the box you have a list of what you get and an inspiration sheet which was packed with great ideas on what to make.
The box itself contained:


- Pattered paper/cardstock/canvas - 16 sheets of good quality thick paper/cardstock of which two of these were fabric/canvas style sheets. Some sheets had shiny accents, others were iridescent like centura pearl and lots were double sided.
- Card blanks with envelopes, two different sizes
- Flower stamp and acrylic mount
- Flower die cuts (matching the papers)
- Wooden/MDF butterflies
- Lots of gorgeous buttons
- Candi (faux legless brads - I've recently really got into these and these will be added to my collection)
- Two chalk ink pads
- Foam pads - great for use with the Candi (I don't really use small square foam pads and have so many from craft boxes but they are really useful)
- Instructions to make a handbag gift bag/box including a magnetic clasp
- A personalised notepad (which was a lovely touch)
If you'd like to find out more or sign up for the boxes you can visit the Craft What Not's page here
Please note that I received this box free of charge in exchange for an honest review.
Thursday 2 October 2014
Hunkydory Smudge & Mitten Birthday Card
I think this is the most 'luxurious' cards I've ever made, it has so many layers and I made it for my little sister whose birthday was this week.
I used the Hunkydory Smudge and Mitten papercrafting kit and paper pad along with some silver mirri. 
In the top right corner I also added a flower I made from Craftwork Cards Candi (I've only recently got into Candi!)

Friday 26 September 2014
Another Successful Bag

Just a quick post of my third Chris W Designs Lombard Street bag. I'm so pleased with how this turned out as I did a few tweaks including making the sides rectangles rather than curved and it mad it so much easier to sew! I did break two needles though as I used different zips which had chunky metal ends (usual supplier was away)
I think it's time to find a new pattern now to try out and challenge myself!
Wednesday 17 September 2014
Simple Birthday Card Using Cricut Mini
I needed to make birthday card and thought I'd use up some of my Kaisercraft scrapbook papers. For the below cards I only used one sheet of 12 x 12 (polkadot on one side and floral on the other) so it didn't use a lot (the cards are A6 size). The scrapbook paper worked really well in the Cricut Mini too.
Simple yet effective cards.

Simple yet effective cards.
Monday 15 September 2014
Kitten Scrap Book Page
I usually use Craft Artist for cards and loved using it for scrapbooking as you can size the images to the correct size for the page, rather than printing out the photos and then having to cut them or squeeze them on the page (which I did with my Florida pictures in my other book). I also like that you can move things around an resize them easily and don't have to move them again to stick them (as you do with manual scrapbooking)

I can't wait to add more to my scrap book, a mix of digital pages printed and others I'll manually do.
Friday 12 September 2014
Fun with distress inks and stamps
I've always been quite a clean crafter, ie minimal stamping and just colouring with my Spectrum Noirs, however I always wanted to get some distress inks and after buying some in America I seem to be using them a lot around the edges of my card layers. A few weeks ago I found myself bored in the study and just started playing with a brayer, distress inks and some stamps and made the below which are very different to my normal style but loved how they turned out. The oriental stamps were a free gift with a stamping magazine and the 'home' stamps were from the Kirstie Allsopp range at Hobbycraft


 |
| Using stamps from the Kirstie Allsopp range at Hobbycraft |
Wednesday 10 September 2014
Craft Room Redecoration
I've not posted any craft bits on here for a little while as I redecorated my craft room, helped my husband build and decorate a MAME (an arcade machine) and then got two little kittens, Chill & Pepper.

 |
| Before (once all my craft bits had been removed so I could sand it) |
 |
| After covering the table with Fablon. |


Having the Falon has made my table easier to clean and it looks quite funky! It only cost £9 to do (less than one roll of Fablon)
I'll be adding some more posts soon with cards and craft bits I've made (while the kittens sleep!)
Subscribe to:
Posts (Atom)